Sulky
Transfer Pens
Make
iron on transfers: TRACE----COLOUR----IRON-ON
 |
1.
Place
the photocopy pattern on a flat surface
or lightbox and place the tracing paper over the pattern. Tape the corners in
place.
2.
Shake
the black pen, and gently press the nip on a scrap piece of paper to start the
ink flow.
3.
Trace
all the black outlines first. DO NOT press on, be gentle with the pens.
4.
If
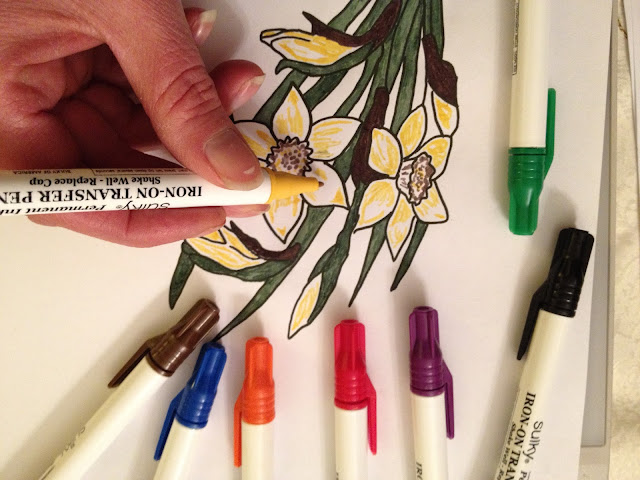
making the practice flower below. Fill in the yellow petals leaving gaps of
white areas (unfiled areas) This creates shading.
5.
Use
the green for the leaves to fill in.
6.
Use
dots in the flower centres, use the pen like you were making lots of full
stops, this creates a look of pollen on the flower centre.
7.
Follow
instructions on the black pen card packaging for how to iron on to fabric.
NOTE: The bird has been created by an artist. your results may not be as professional but you can easily trace butterflies and flowers with great results. Design packs available from www.webstercraft.co.uk
.JPG)
No comments:
Post a Comment